This post is old and probably irrelevant today.
14 October 2019
How to add links to images in Google Data Studio
Your links don't have to be text-only. Here is how you can improve their looks, with a template of buttons and icons for inspiration.
Update in December 2019
Since we wrote this article, Google added the missing feature for adding links to image components:
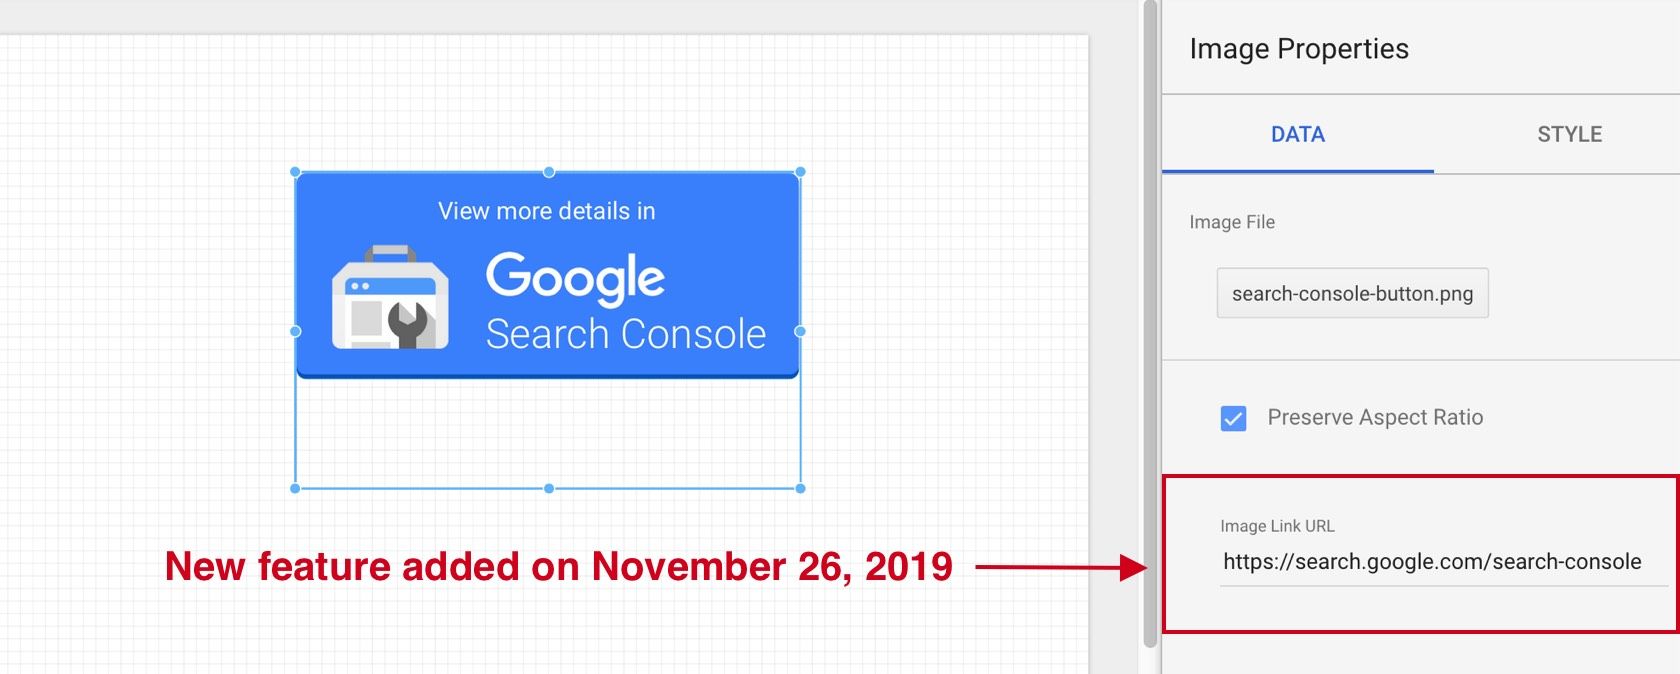
As a result, the workaround described in this post is no longer needed. You may still be interested in our buttons template.
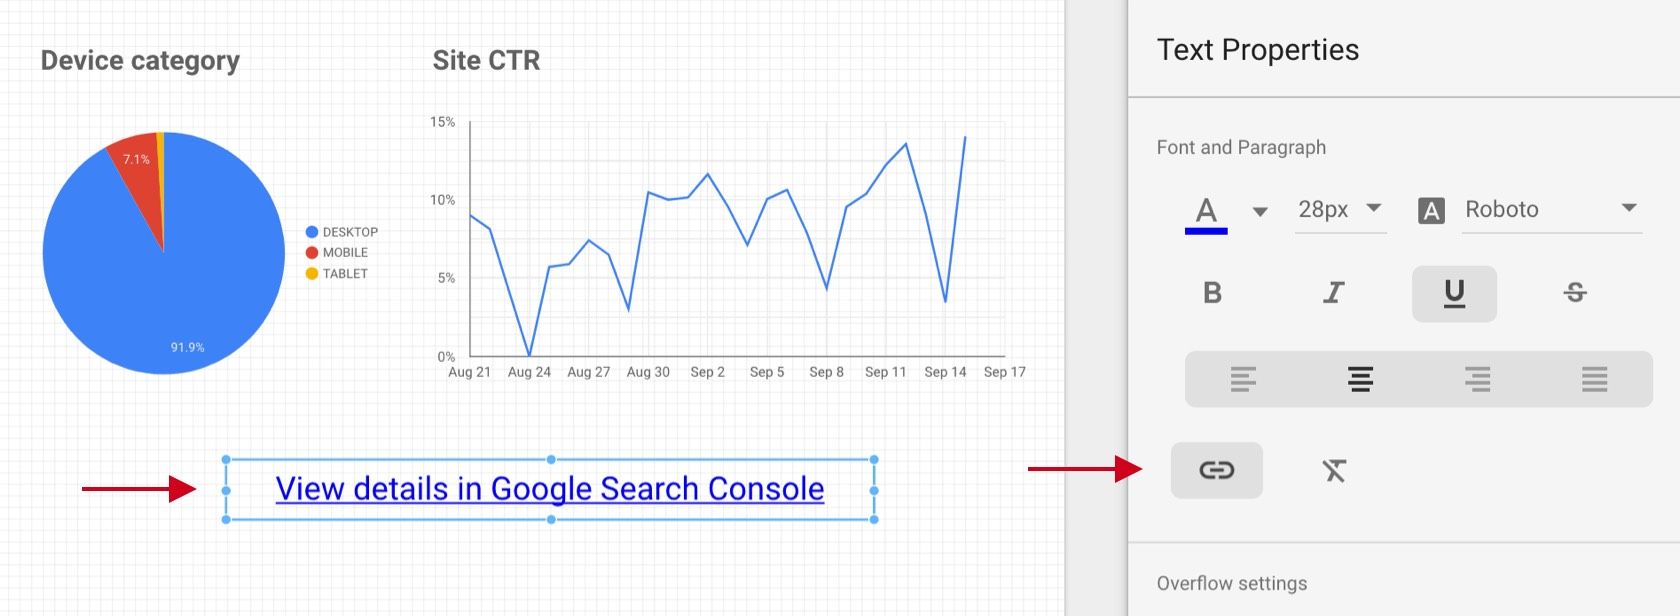
Adding links on text
In Data Studio, the design options for links are very poor. You can only add links on text objects, and it's not even possible to choose the color. Links are always blue (page not visited) or purple (page already visited).
What if you want to be more creative? Good news, there are solutions!
Adding links on images
The first solution is to use buttons created in your favorite design application. The "Google Search Console" button in this example was created with Sketch.
There is no option to add a link on an image in Data Studio. But here is a popular workaround, using a transparent text link:
1. Insert your image
Drag your button image file onto your report.
2. Create a new text field
Add a few '/' characters as its content.
3. Add your link
Select a page of the current report or enter a url.
4. Position your text link above your image
Adjust the font size and add enough '/' characters to cover the image.
5. Make the link invisible
Set the opacity of your text object to 0%.
6. Create a group
Group the image and its link, so that you can move them together easily. You can access the Group option from the contextual menu (right click), or use the shortcuts:
Mac
- Group: ⌘ + G
- Ungroup: ⌘ + Shift + G
Windows
- Group: Ctrl + G
- Ungroup: Ctrl + Shift + G
That's it, your image is now clickable:

Designing buttons in Google Data Studio
For simple buttons, you don't need to create images outside of Data Studio. You can design a button with basic shapes and icons:
Add icons by dragging image files onto your report:
![]()
Use a transparent text field to add the link on top of your button:

It's always a good idea to finish by grouping objects, so that the button behaves as a single element when you need to move it:
Mac
- Group: ⌘ + G
- Ungroup: ⌘ + Shift + G
Windows
- Group: Ctrl + G
- Ungroup: Ctrl + Shift + G
Did you know?
When you need to move an object precisely, hold shift while pressing the arrow keys. The selected object will only move by a few pixels, without snapping to the grid:
Use our buttons template
Save time designing buttons and icons with our buttons template.
Use copy/paste to insert these buttons in your own reports:
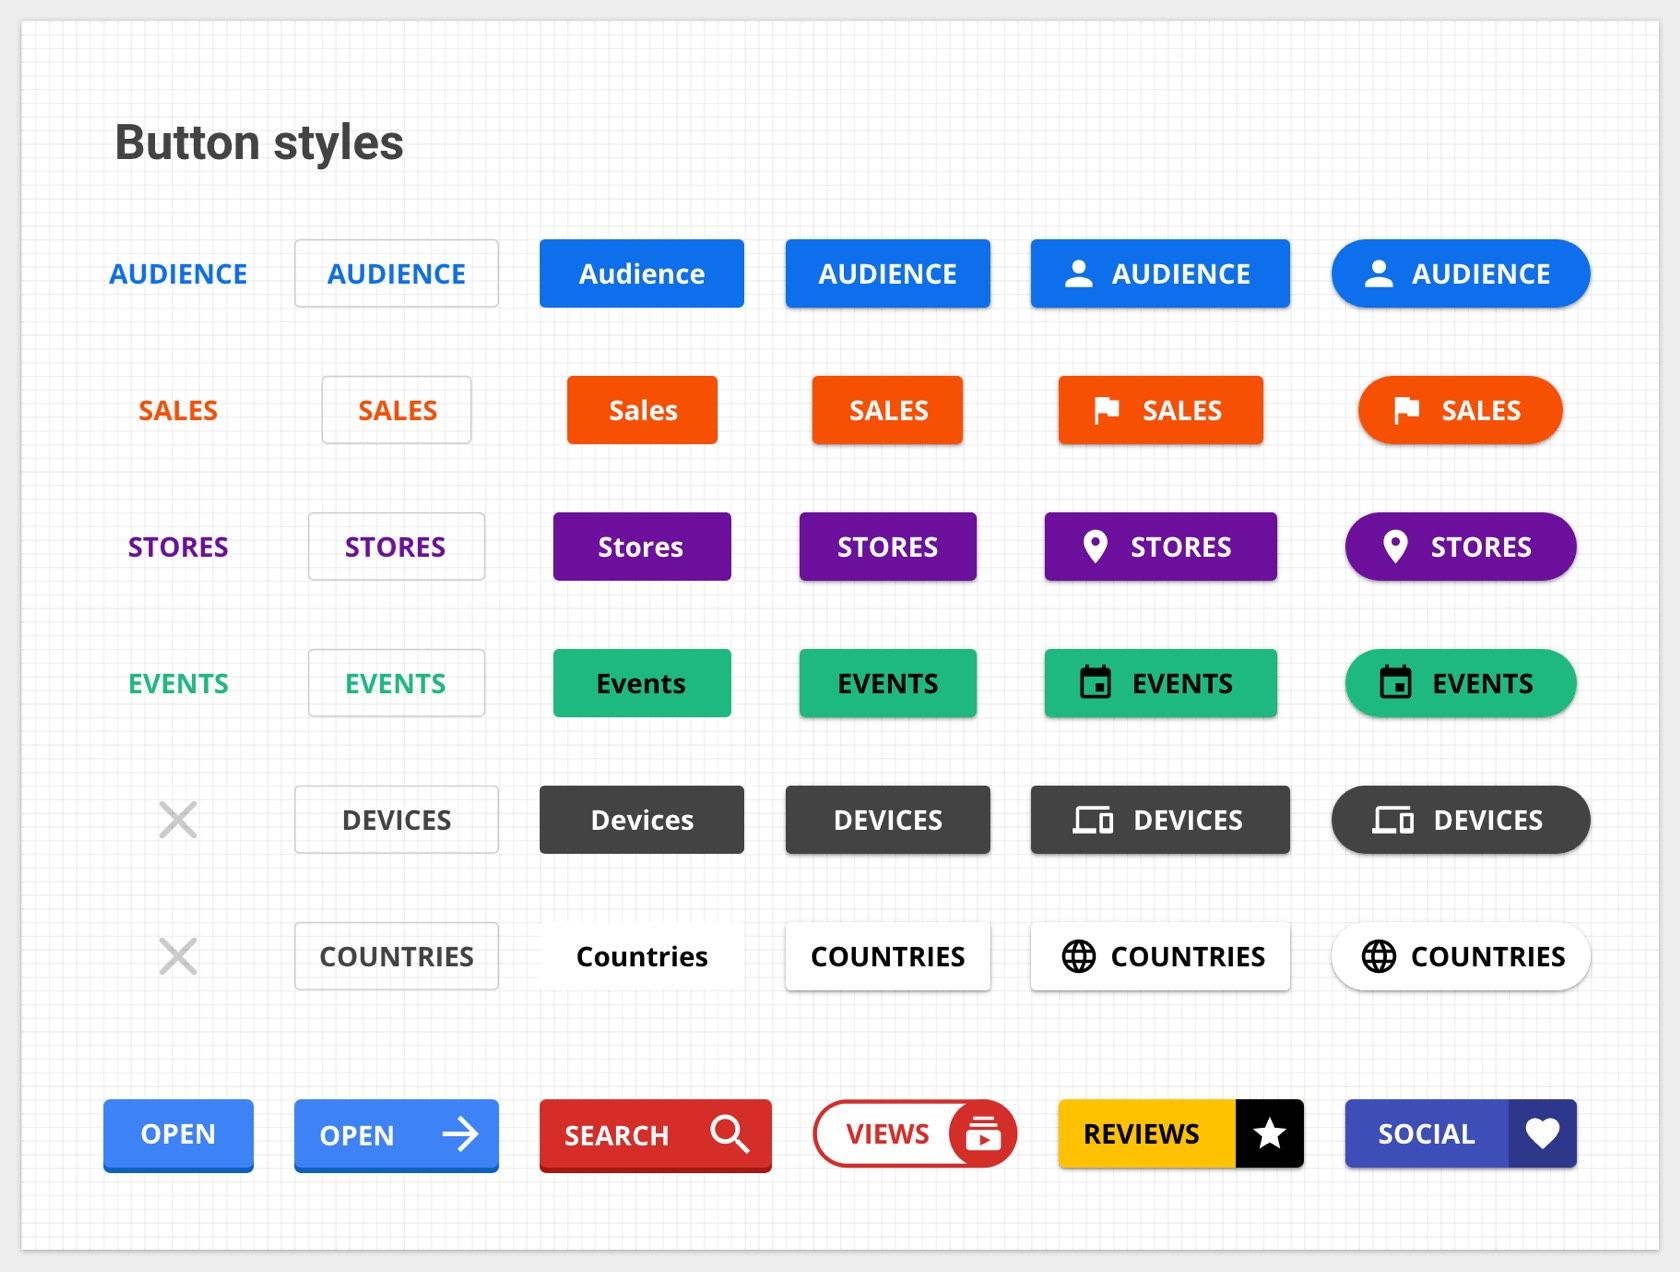
The top 6 rows follow Google's Material design guidelines for buttons. The last row does not.
The template also contains icons, which can help add emphasis to a button. They come from Google's Material Icons Library and are free to use for any project.
![]()
Black icons for light backgrounds. If you find them too dark, reduce their opacity.
![]()
White icons for dark backgrounds. If you find them too light, reduce their opacity.
We hope this helps you design beautiful reports!