This post is old and probably irrelevant today.
19 August 2019
How to install Commento on Dokku
Commento's hosted plan is pretty cheap — but where's the fun if we can't mess up with it?
Fortunately it's also open-source, and available as a Docker image. Let's deploy it on our server using Dokku!
Update in April 2021
Use git:from-image instead of tags:deploy since Dokku 0.24.0.
 Commento is also open-source — meaning we can install it on our Dokku!
Log in to your server
You'll need a box with Dokku already installed. We're using DigitalOcean's $5/m droplet, which is enough to start.
First step: SSH to your server.
All the commands below are to be run on your server. Nothing will be done on your local machine, not even a local git repo — we'll be using Dokku's ability to deploy via a Docker image.
Create a Dokku app for Commento
Adapted from https://docs.commento.io/installation/self-hosting/on-your-server/docker.html.
Make sure to install dokku-postgres plugin first.
Create an app and set its domain
Replace yourdomain.com with your own domain:
dokku apps:create commento
dokku domains:set commento commento.yourdomain.com
Create the database
Commento needs a PostgreSQL database to hold all its data. Let's create it and link it to our app.
dokku postgres:create commento
dokku postgres:link commento commento
Set up ports
Dokku usually discovers itself which ports to expose. However, we need to explicitely declare it as we'll deploy using Docker image, cf. this documentation.
dokku proxy:ports-set commento http:80:8080Commento config
We need to set COMMENTO_ORIGIN to the domain where Commento is hosted — the same one set in the first step.
dokku config:set --no-restart commento COMMENTO_ORIGIN=https://commento.yourdomain.comWhen linking the database with dokku, a default DATABASE_URL is set with the connection info. Unfortunately, Commento doesn't use that variable. Instead it expects COMMENTO_POSTGRES.
We could manually set COMMENTO_POSTGRES, but instead we'll set it at runtime using docker options, and some command substitution to dynamically get the connection info for the commento dokku app. Note that we need to escape the $(...) as we don't want to substitute the command now — instead we want it to be substitued when dokku starts the app and adds that option.
dokku docker-options:add commento run,deploy "-e COMMENTO_POSTGRES=\$(dokku postgres:info commento --dsn)"Note that it shouldn't matter if your shell supports $() command substitution or not (e.g. Fish does not), as Dokku will use bash under the hood.
If, however, there's any issue when starting Commento (check dokku logs commento output), you should first try to set COMMENTO_POSTGRES manually:
# Clean up the docker-options set before
dokku docker-options:remove commento run,deploy "-e COMMENTO_POSTGRES=\$(dokku postgres:info commento --dsn)"
# And set the ENV var manually
dokku config:set --no-restart commento COMMENTO_POSTGRES=$(dokku postgres:info commento --dsn)
If you do that, don't forget that you'll have to manually update COMMENTO_POSTGRES if the DB connection info changes.
Deploy using Docker image tags
We're deploying the official Commento docker image:
dokku git:from-image commento registry.gitlab.com/commento/commento:latestThis is also how Commento can be updated.
Enable SSL
Install dokku-letsencrypt first, then:
dokku config:set --no-restart commento DOKKU_LETSENCRYPT_EMAIL=[email protected]
dokku letsencrypt commento
Finish Commento setup
By this point, Commento should be up and running. If you can't access it at the domain you set, review the previous steps and try setting COMMENTO_POSTGRES manually, then restart the app (dokku ps:restart commento).
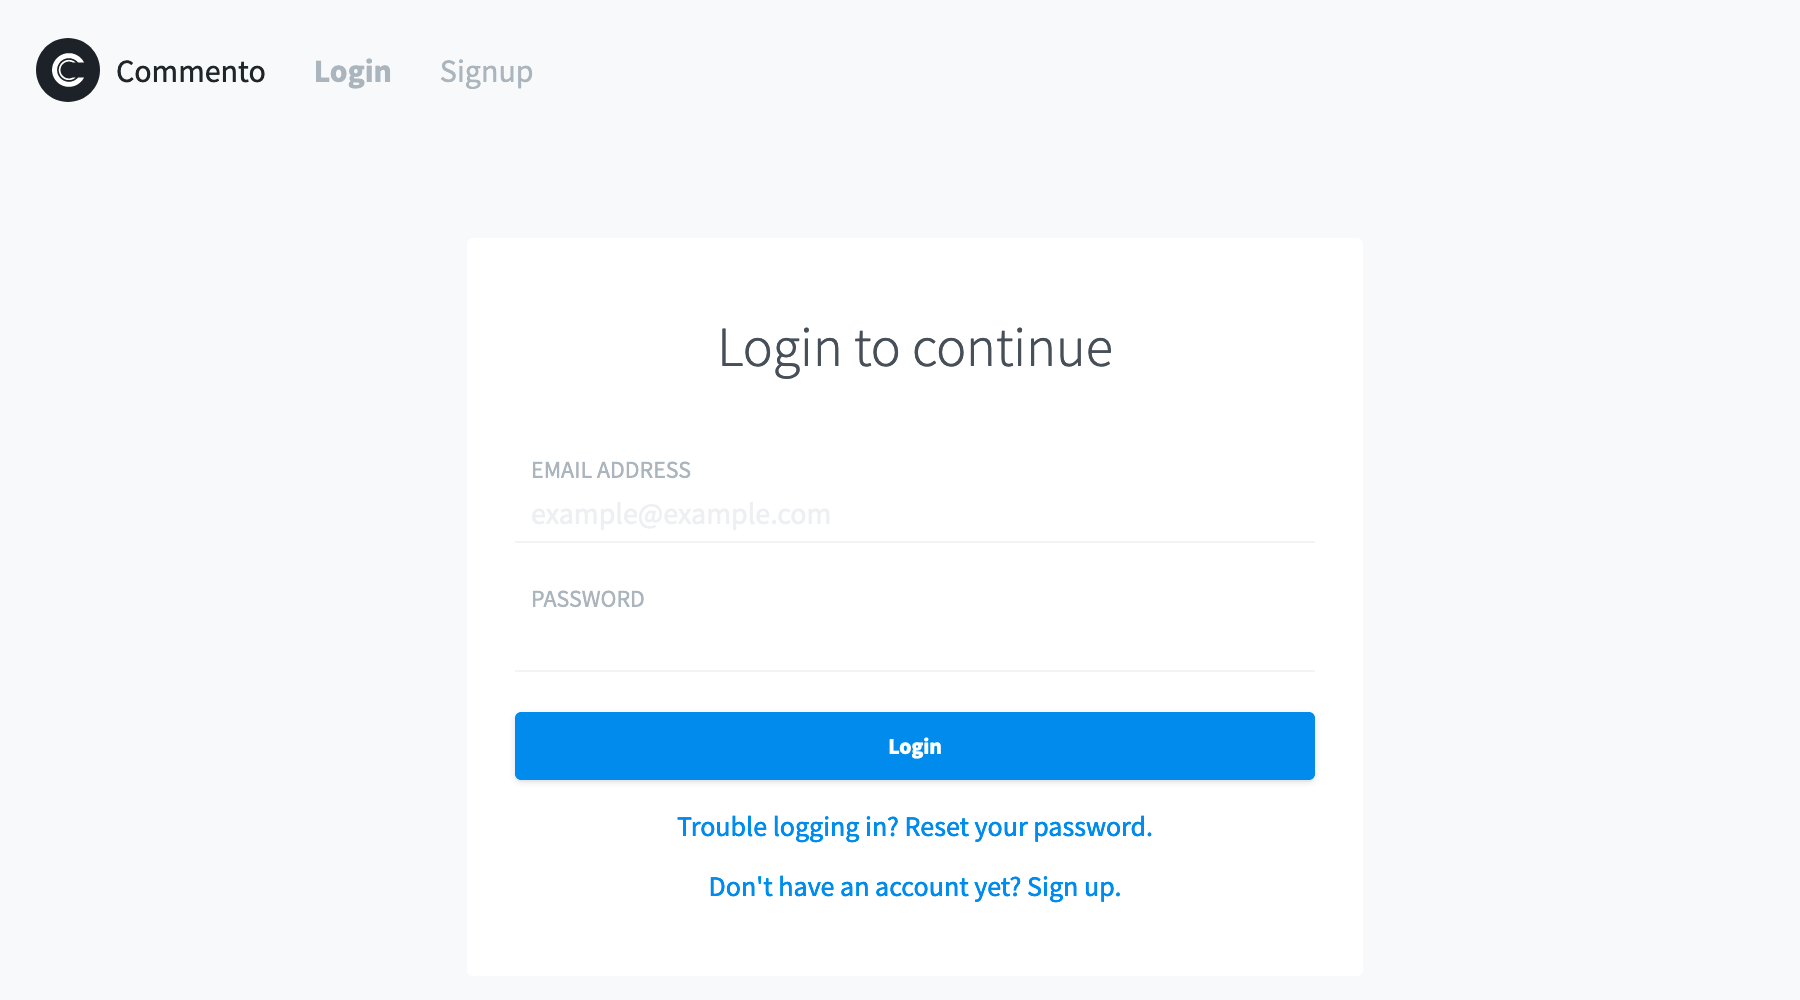 Your very own commento.io dashboard!
Then, follow these instructions to create an account, log in, and register your domain where to display comments: https://docs.commento.io/installation/self-hosting/register-your-website/.
Enable / disable options
Some additional Commento features can be enabled using environment variables, like this:
dokku config:set commento COMMENTO_FORBID_NEW_OWNERS=true COMMENTO_GZIP_STATIC=trueHere's the one you might want to enable:
# Disable new accounts - to be done AFTER you've created your account
COMMENTO_FORBID_NEW_OWNERS=true

# Optimize assets
COMMENTO_GZIP_STATIC=true

# Send email alerts (e.g. we use Mailgun)
COMMENTO_SMTP_HOST=smtp.eu.mailgun.org
COMMENTO_SMTP_PORT=587
COMMENTO_SMTP_USERNAME=[email protected]
COMMENTO_SMTP_PASSWORD=<MAILGUN PASSWORD>
COMMENTO_SMTP_FROM_ADDRESS=[email protected]

# Akismet anti-spam, cf. https://akismet.com/account/
COMMENTO_AKISMET_KEY=abcdef

# To let users log in using known oAuth providers, you'll need to create your own apps
COMMENTO_GOOGLE_KEY=...
COMMENTO_GOOGLE_SECRET=...
COMMENTO_TWITTER_KEY=...
COMMENTO_TWITTER_SECRET=...
COMMENTO_GITHUB_KEY=...
COMMENTO_GITHUB_SECRET=...
When creating the oAuth apps, use this pattern as callback URLs:
https://commento.yourdomain.com/api/oauth/google/callback
https://commento.yourdomain.com/api/oauth/twitter/callback
https://commento.yourdomain.com/api/oauth/github/callback
https://commento.yourdomain.com/api/oauth/gitlab/callback
Backups
Commento stores all its settings and comments in the DB. This is the only thing we have to back up.
Automatic DB backup on Amazon S3
We use AWS S3 because it's cheap and the dokku-postgres' backup feature is working out-of-the-box with it.
On your AWS account:
- Create a dedicated S3 Bucket (e.g.
yourdomain-commento-dokku-postgres-backups-12345678-abcd-90 - Create a dedicated AWS user, having rights only on this S3 bucket:
yourdomain-commento-dokku-postgres-backups - Store the Access Key ID & Secret Key somewhere safe (we use 1Password)
We then use Dokku's built-in backup feature (commento is the name of the DB linked to the commento app, and our S3 bucket exists in the eu-central-1 region):
dokku postgres:backup-auth commento AWS_ACCESS_KEY_ID AWS_SECRET_ACCESS_KEY eu-central-1For added security, let's encrypt the backup files. Use your password manager to generate a new, strong password and save it:
dokku postgres:backup-set-encryption commento "YOUR_GPG_PASSPHRASE_SAVED_IN_1PASSWORD"Let's schedule the DB backup twice a day. We want to save it in the backups/ "folder" of the S3 bucket:
dokku postgres:backup-schedule commento "0 */12 * * *" yourdomain-commento-dokku-postgres-backups-12345678-abcd-90/backupsTo keep things clean, you can create an S3 lifecycle rule and delete old backups after 180 days (about 6 months).
How to recover a crashed DB from a backup
In any case, you should take advantage of your server provider's backup feature. E.g. DigitalOcean takes a weekly snapshot of the whole state of our server.
-
Download the latest backup file from your S3 bucket.
-
Make sure you have GPG installed locally. Easiest solution on macOS is to use GPG Suite:
brew cask install gpg-suiteYou'll need to install https://brew.sh first.
-
Decrypt the
.gpgbackup file (remember the passphrase you saved in your password manager earlier?):gpg -o postgres-commento.tgz -d postgres-commento-timestamp.tgz.gpg -
Expand the
.tgzto get the decrypted DB dump, transfer it to your server, and import it to PostgreSQL. BEWARE: this will overwrite the current DB, make sure you also backed it up manually:dokku postgres:import commento < db_export.dump
How to update Commento
Just update the Docker image for Commento and deploy it:
dokku git:from-image commento registry.gitlab.com/commento/commento:latest